Easy Strawberry Tiramisu (No Eggs, No Baking Dish)
Easy Strawberry Tiramisu: Fresh, Creamy Layers Without the Fuss
If you love a classic tiramisu but want something lighter, fruitier, and far more effortless, this Easy Strawberry Tiramisu is exactly what you need. Made without eggs and assembled directly on a board instead of a baking dish, it’s a beautiful free-form dessert that feels both elegant and relaxed. Layers of strawberry-soaked sponge fingers, silky mascarpone cream, and a vibrant strawberry sauce come together into a soft, sliceable cake that looks as good as it tastes. It’s the kind of dessert that feels impressive but is surprisingly simple to make. If you enjoy fruity layered desserts, you might also love my Blueberry Tiramisu Cake or Mandarin Tiramisu, both equally fresh and easy to prepare. This recipe is perfect for warmer days, dinner parties, or whenever you want a no-bake dessert that delivers maximum flavour with minimal effort. The natural sweetness of strawberries pairs beautifully with the creamy mascarpone, creating a balance that feels light yet indulgent. It’s also incredibly versatile, just like my Strawberry Fluff Squares (Gluten-Free) or No-Cook Mango Mochi (Rice Paper Dessert), which are also great examples of simple desserts with bold flavour.
Scroll down or tap ‘Jump to Recipe’ to get started.
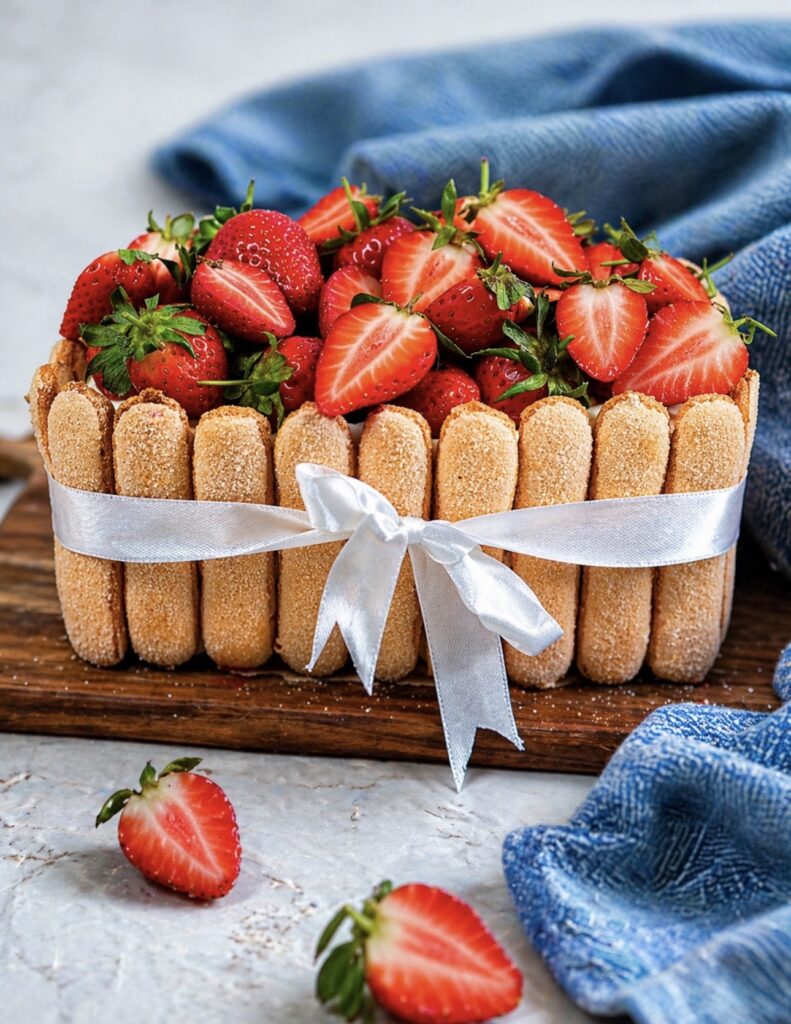
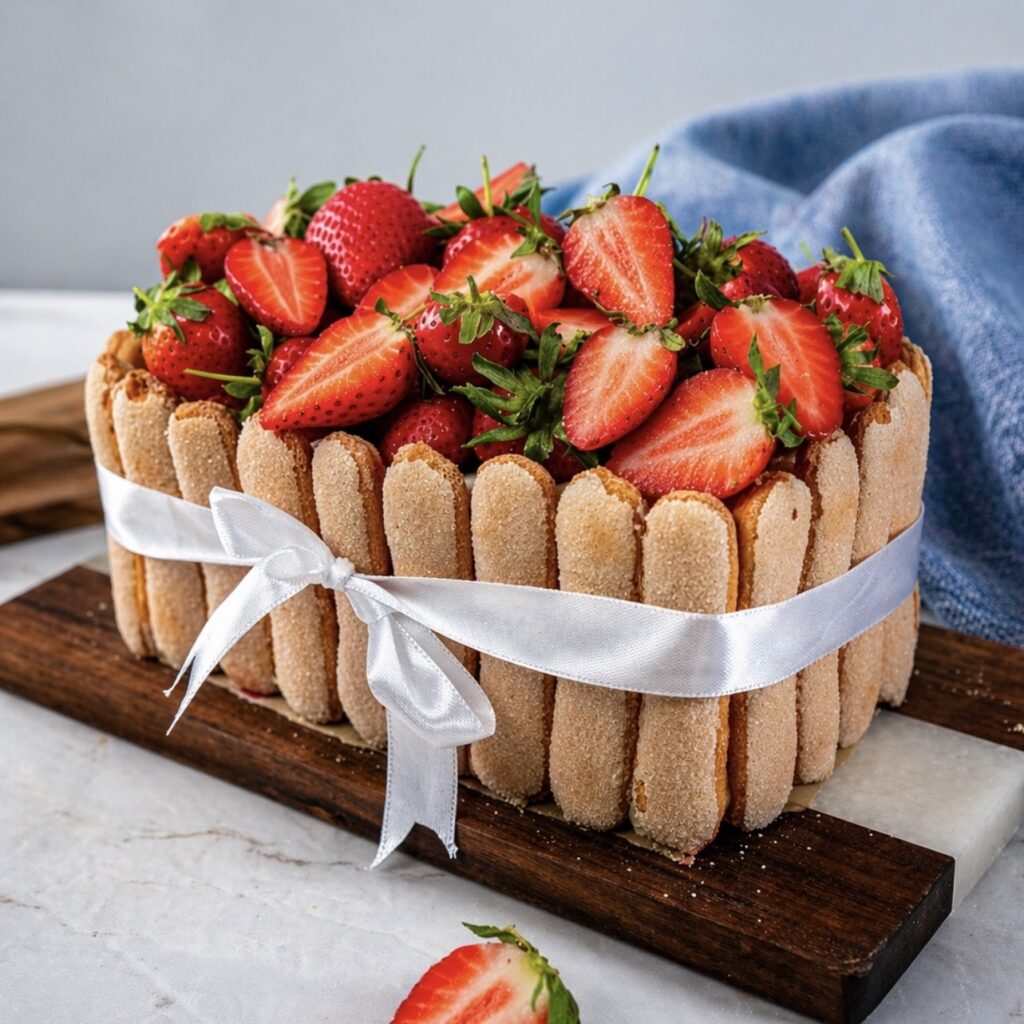
Finished strawberry tiramisu ready to serve
Simple Ingredients, Big Flavours
What makes this strawberry tiramisu so special is how a handful of simple ingredients transform into something truly memorable. Each component plays a clear role in building flavour and texture:
Sponge fingers – The base of the dessert, lightly dipped in strawberry syrup for a soft yet structured layer
Fresh strawberries – Used in three ways, for the syrup, the sauce, and the final decoration
Mascarpone and cream – Whipped into a smooth, rich filling that balances the fruit perfectly
Sugar and vanilla – Enhancing sweetness and adding warmth to the cream and sauce
Cornstarch – Helps thicken the strawberry sauce so it holds its shape between layers
This combination creates a dessert that is soft, creamy, and bursting with fresh strawberry flavour in every bite. If you enjoy this style of layering, you might also want to check out my Chocolate Blueberry Protein Bars or Chocolate Raspberry Yogurt Gems, which follow a similar flavour-forward approach.
How to Make Easy Strawberry Tiramisu
Prepare the Strawberry Syrup
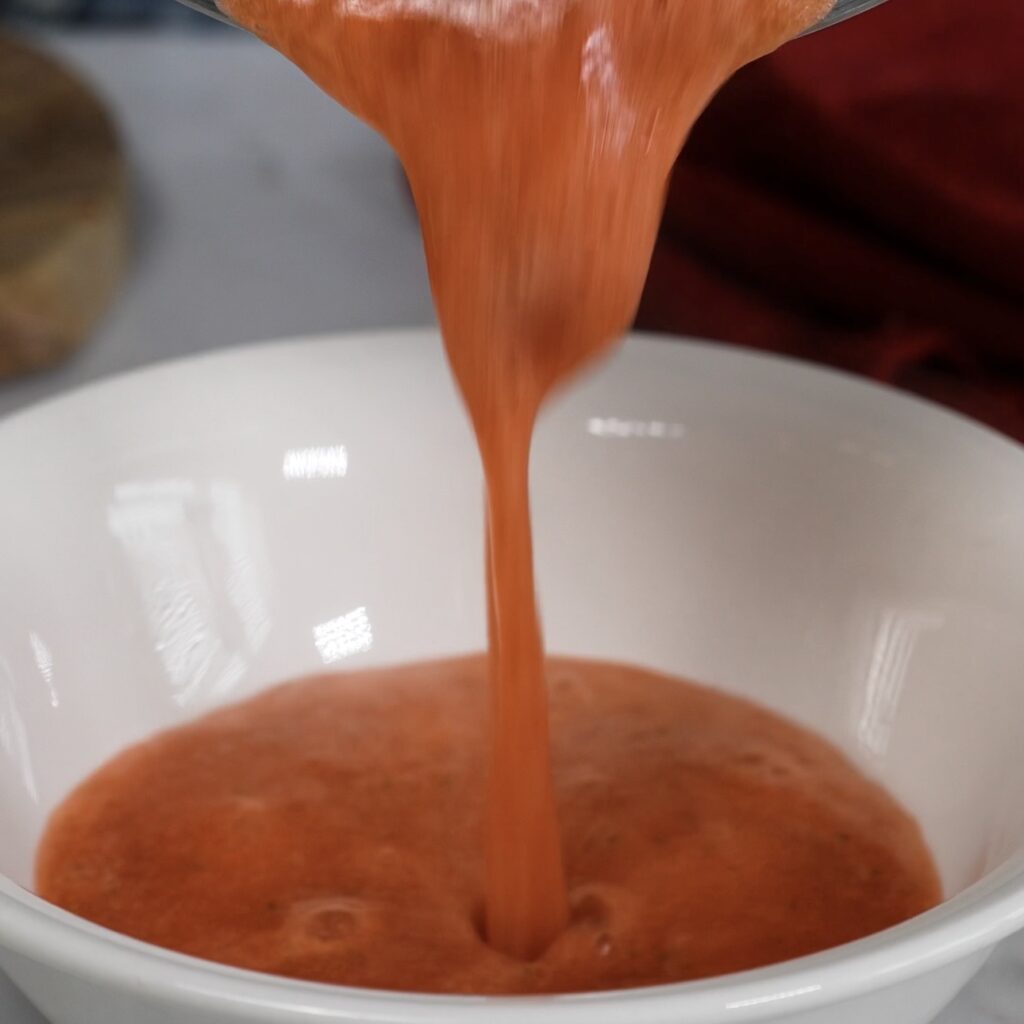
Start by making the strawberry syrup, as it needs time to cool completely before assembling. In a small saucepan, combine the strawberries, water, sugar, and lemon juice. Blend everything until smooth using an immersion blender. Then bring the mixture to a boil over medium heat, let it cook for 1 minute, and remove it from the heat. Transfer the syrup to a bowl slightly wider than the sponge fingers, which will make dipping much easier later, and set it aside to cool completely.
Smooth strawberry syrup being poured into a bowl, ready for dipping sponge fingers
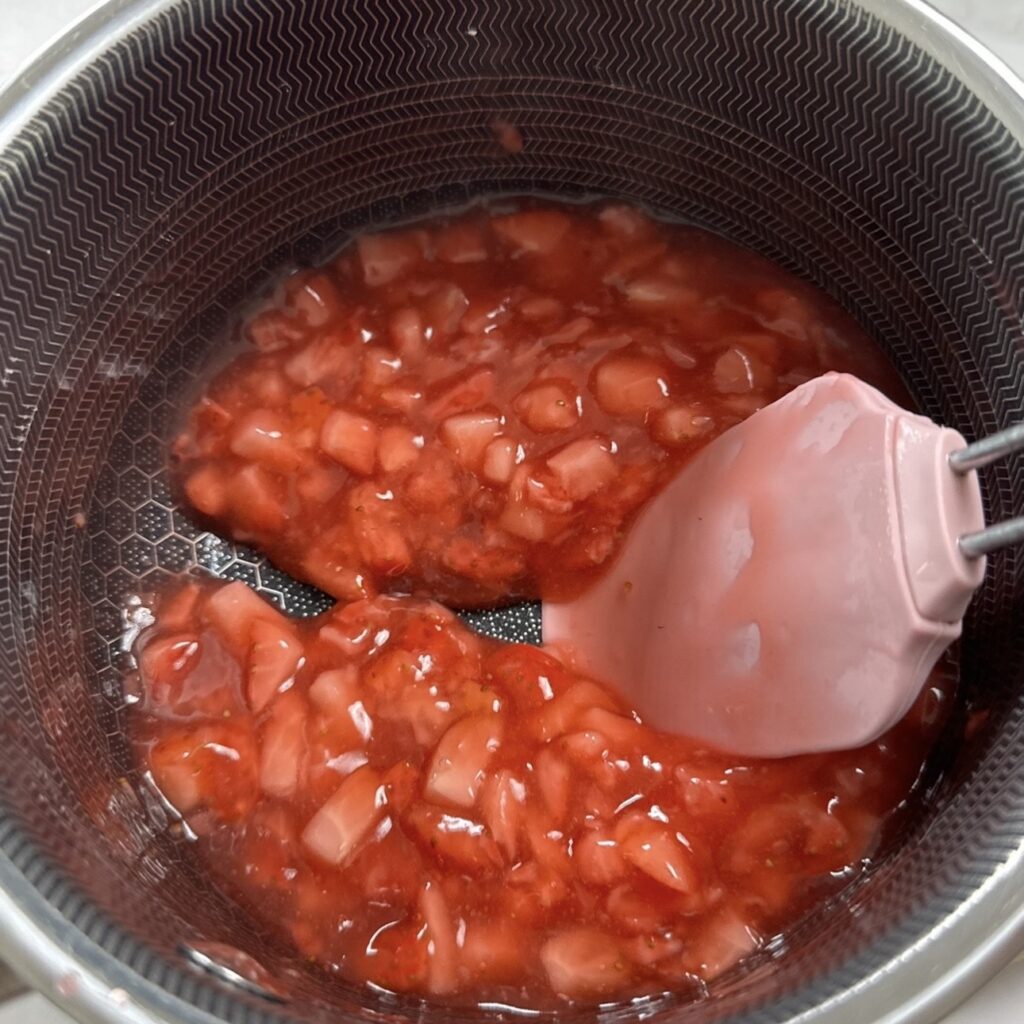
Make the Strawberry Sauce
Next, prepare the strawberry sauce. In a small saucepan, combine the finely chopped strawberries, sugar, and cornstarch, mixing well until evenly combined. Add the vanilla extract and water, then place the saucepan over medium heat. Bring the mixture to a boil, whisking constantly, and continue cooking until it thickens into a smooth, pipeable sauce. Transfer it to a piping bag and allow it to cool to room temperature, then refrigerate for 30 minutes to 1 hour until chilled and easy to work with.
Making strawberry sauce
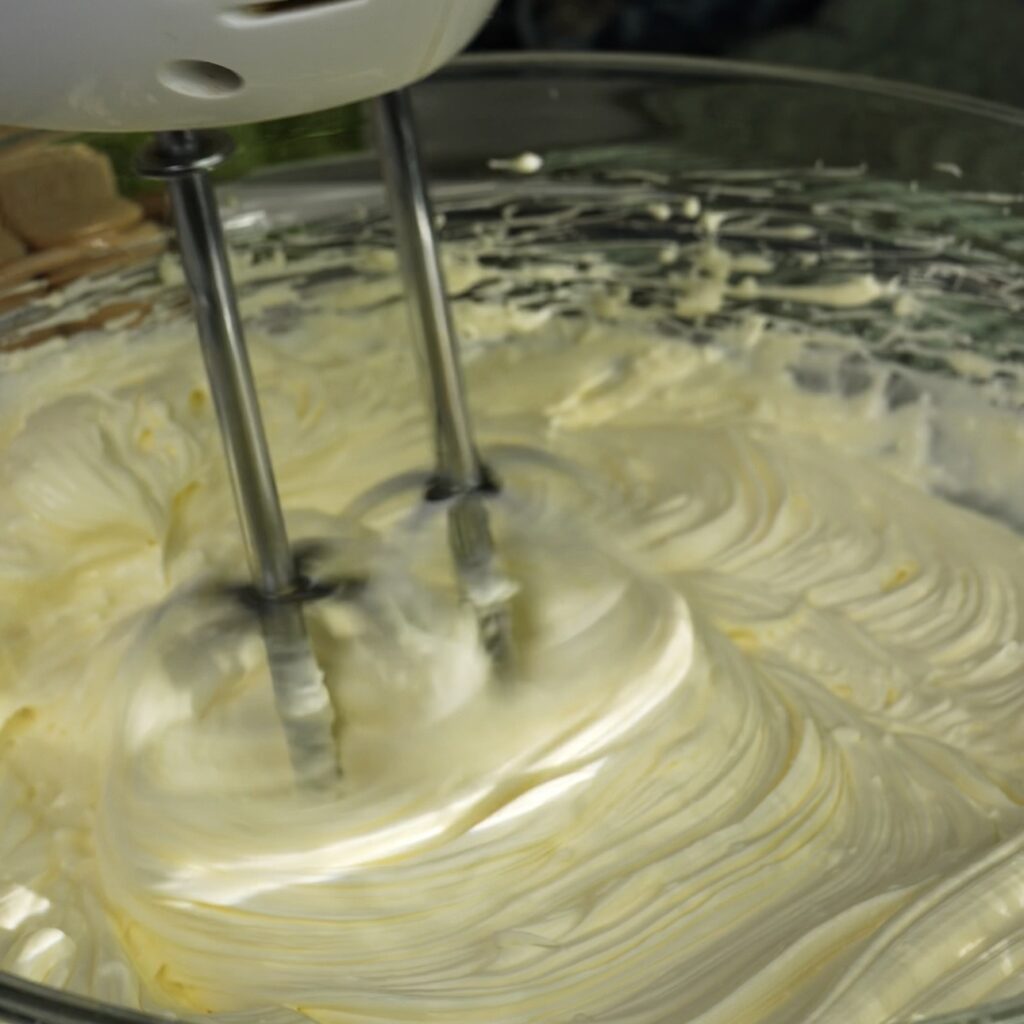
Whip the Mascarpone Cream
In a large bowl, combine the icing sugar, double cream, mascarpone, and vanilla extract. Using a hand mixer, whisk for 2 to 3 minutes until the mixture becomes thick, smooth, and holds its shape. Be careful not to overwhip. Once ready, transfer the cream to a piping bag and keep it in the fridge until you are ready to assemble.
Whipping mascarpone cream
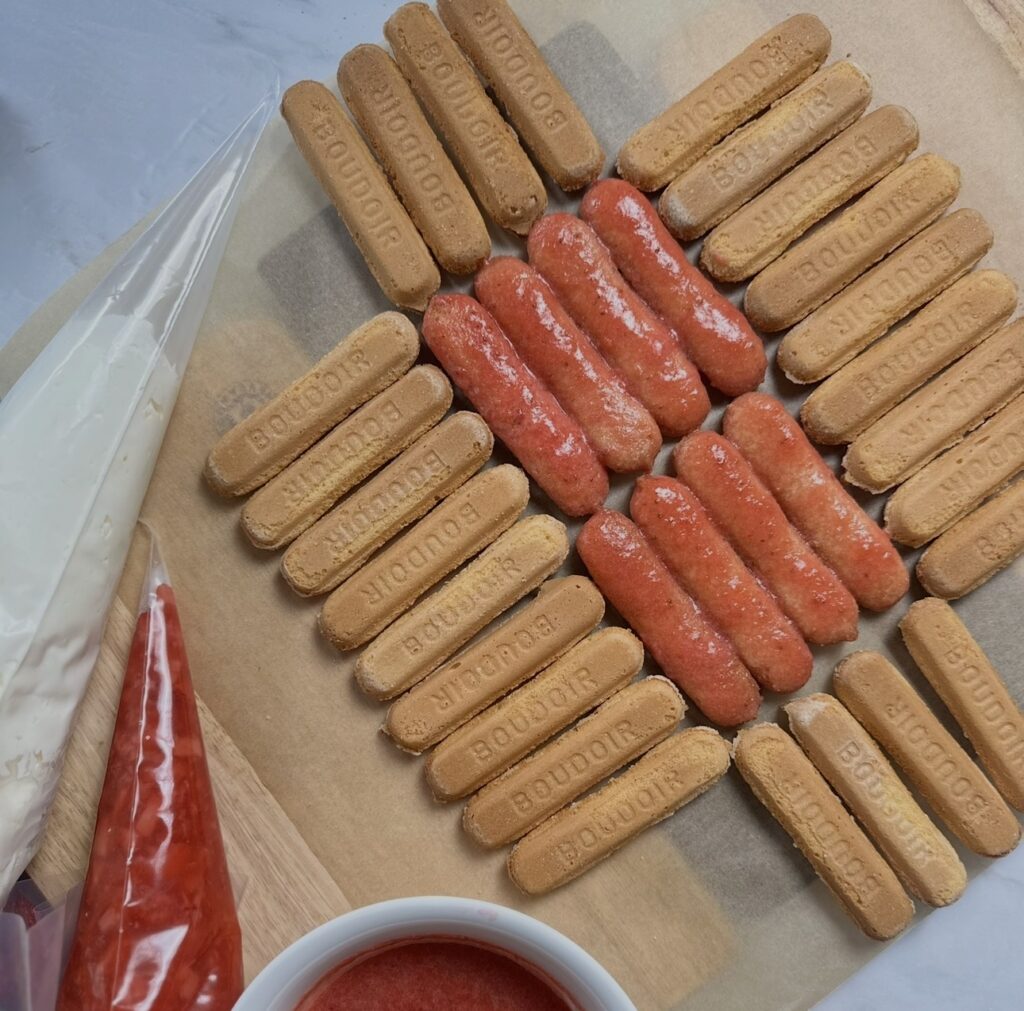
Build the Base and Cake Walls
Place a sheet of parchment paper on a wooden board. Dip one sponge finger into the cooled strawberry syrup and place it in the centre with the sugar side facing up. Add 3 more dipped sponge fingers side by side to form the first row, then place another 4 directly below, keeping them aligned to create 2 even rows. This forms your base. Now take 9 undipped sponge fingers and arrange them along one long side, placing them tightly side by side with the sugar side facing down. Repeat on the opposite long side. Then place 4 sponge fingers along each short side to complete the rectangular shape. These will form the cake walls once they attach to the cream.
Building the base with dipped and undipped sponge fingers
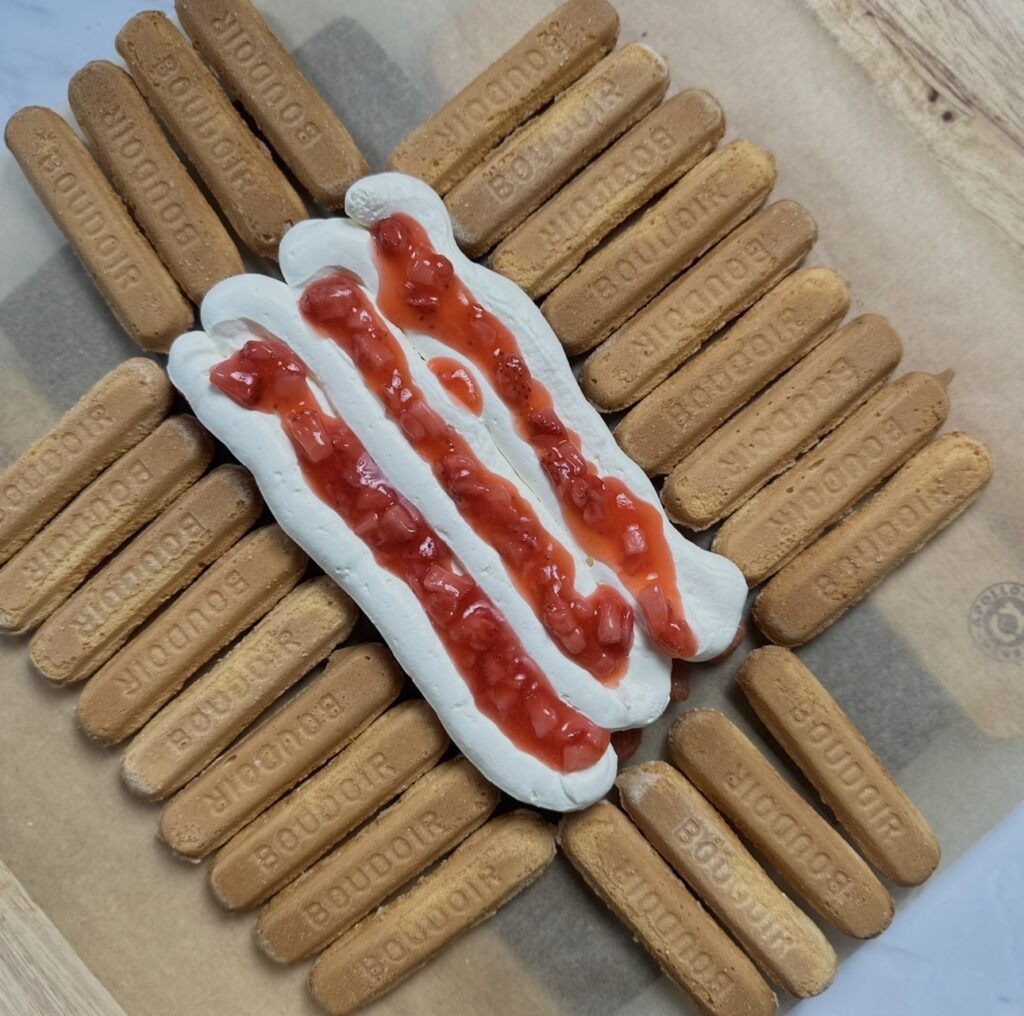
Layer the Filling
Cut the tip off the mascarpone cream piping bag and pipe a generous layer over the base, making sure the sponge fingers are completely covered. Then cut the tip of the strawberry sauce piping bag and pipe about 3 evenly spaced lines over the cream.
Adding the first layer of cream and strawberry sauce
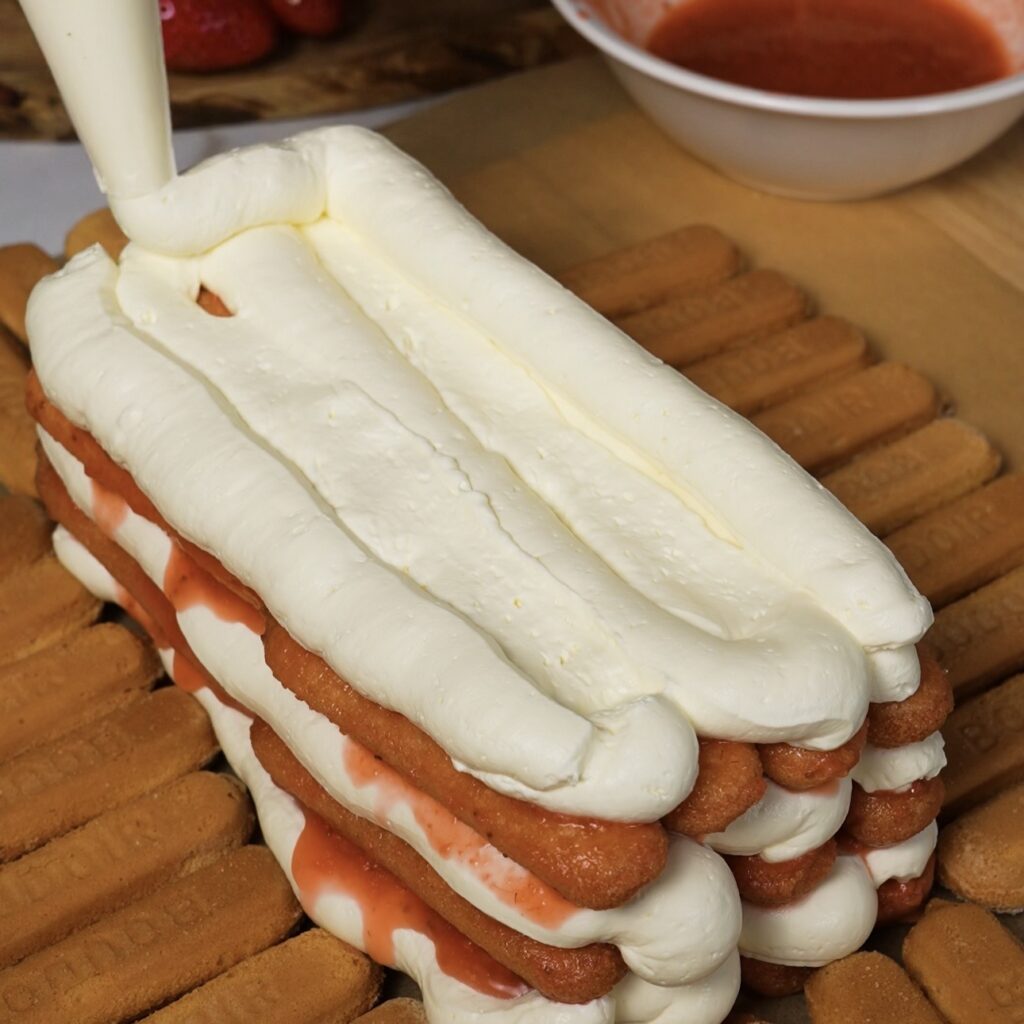
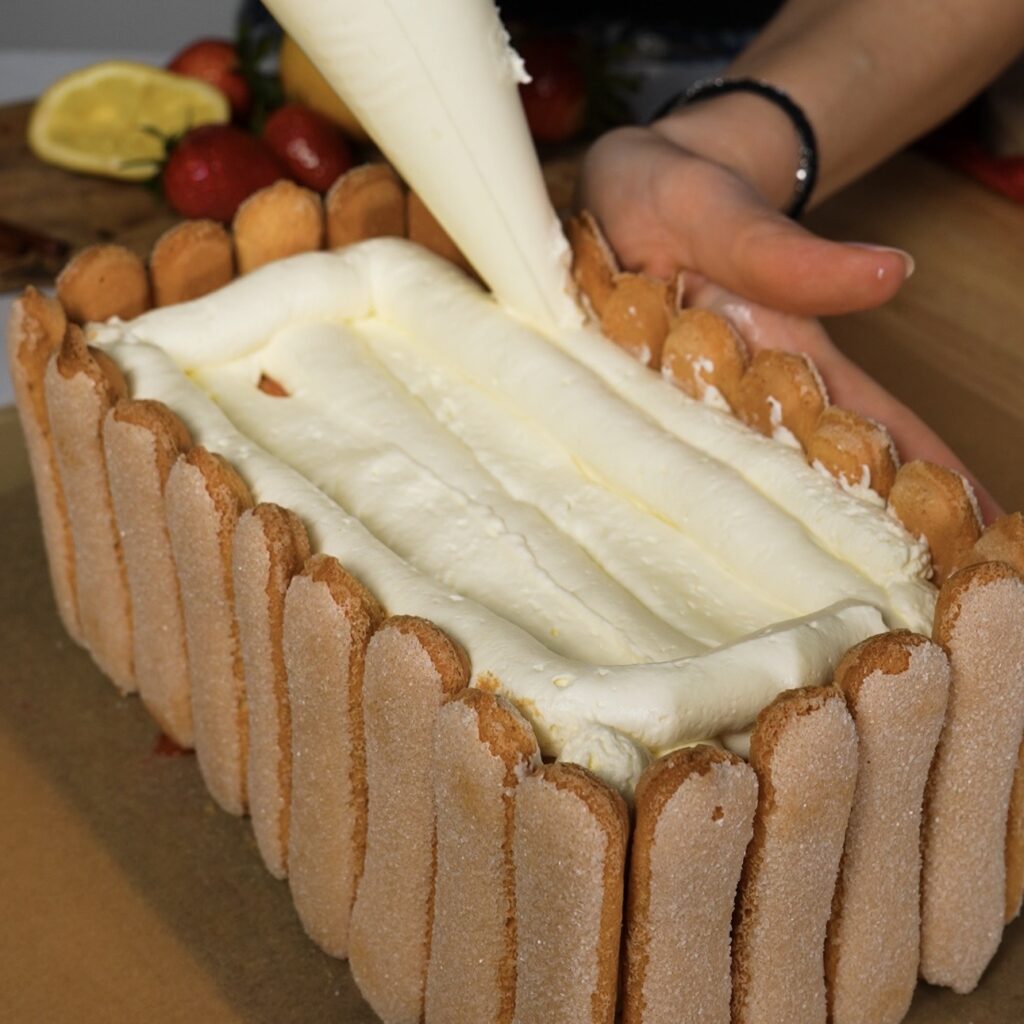
Dip more sponge fingers into the strawberry syrup and arrange them again in the centre in 2 parallel rows of 4, placing them snugly side by side with no gaps. Add another layer of cream, followed by more strawberry sauce. Repeat this process once more with another layer of dipped sponge fingers. Finish with a final generous layer of mascarpone cream.
Finishing with the last layer of mascarpone cream
Shape, Fill, and Chill
Gently lift the parchment paper from each side so the sponge fingers stick to the cream and attach to it, forming the structured cake walls. Use the remaining cream to fill any gaps, then build a border from the inside around the edges. This will help hold the final layer of sauce neatly in the centre.
Building the cream border around the edges
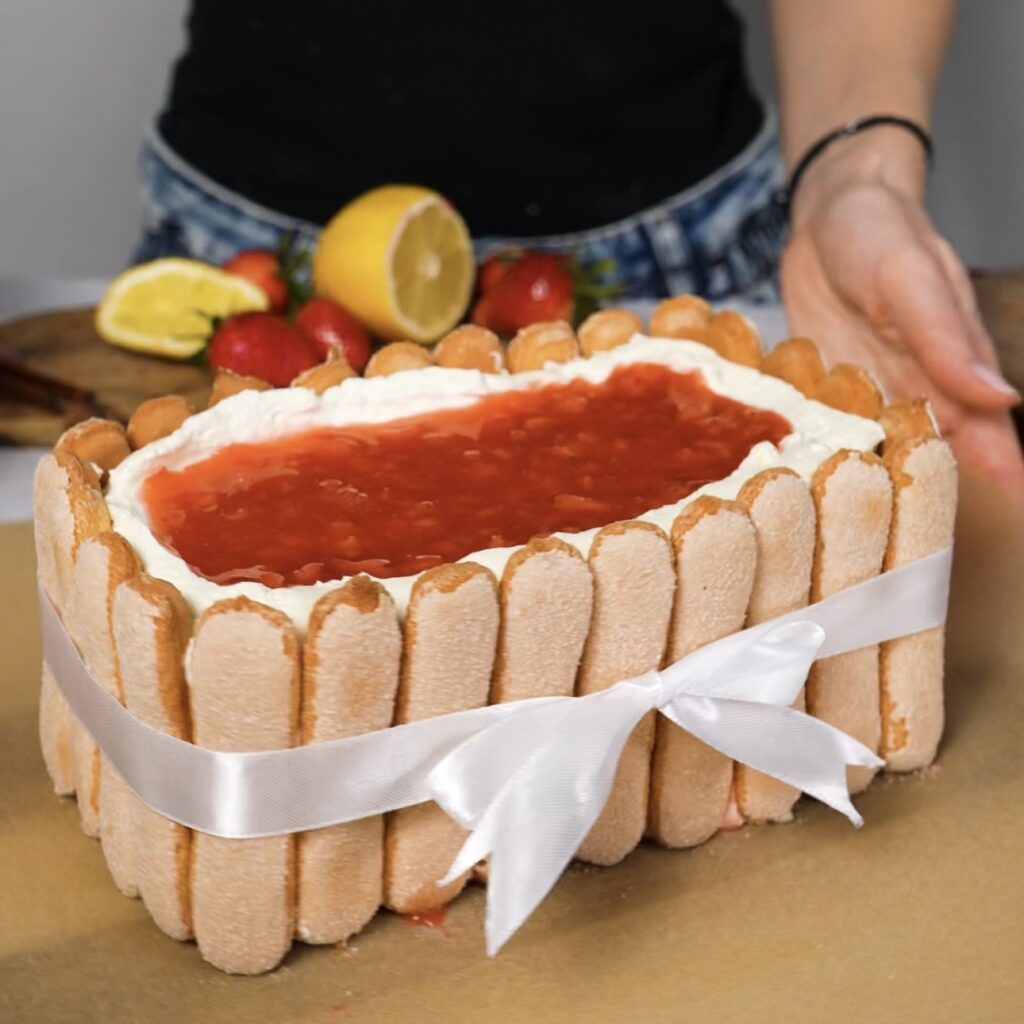
Pipe the remaining strawberry sauce into the middle and spread it evenly within the border. Trim any excess parchment paper if needed. Then wrap a ribbon tightly around the cake to secure its shape, cover loosely with cling film, and refrigerate for at least 4 hours, or ideally overnight, until fully set.
Finishing with strawberry sauce and tying the ribbon
Decorate and Serve
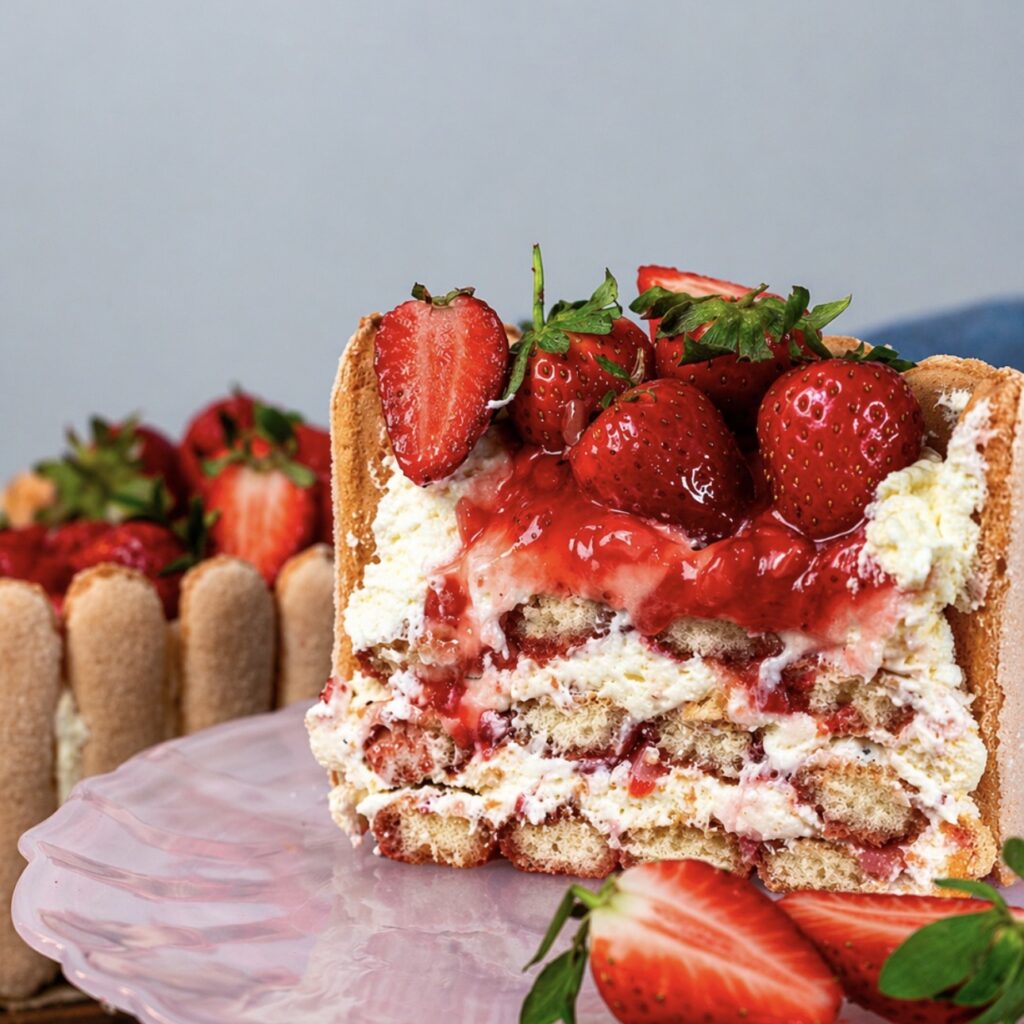
Once the cake is fully chilled and firm, decorate with fresh strawberries, using a mix of whole and halved pieces for a vibrant finish. Slice carefully and enjoy.
Slice revealing the creamy strawberry filling
Why You’ll Love This Recipe
This Easy Strawberry Tiramisu is all about simplicity meeting elegance. It removes the complexity of traditional tiramisu while keeping everything you love about it. No eggs, no baking dish, and no complicated steps, just fresh ingredients layered into something truly special. The result is light, creamy, and perfectly balanced with a bright strawberry flavour in every bite. It’s also incredibly flexible when it comes to flavour combinations and texture. You can easily switch up the fruit, adjust the sweetness, or even change how you present it depending on the occasion. If you enjoy desserts that highlight fresh fruit in a lighter, more modern way, you’ll also love recipes like my Cherry Cottage Cheese Ice Cream (High Protein) and Easy Banana Ice Cream Bar (No Churn), which offer a creamy yet refreshing twist. For something a little more structured, my Raspberry Cottage Cheese Bars are another great option, combining fruit and creaminess in a completely different but equally satisfying way.
Perfect for Any Occasion
Whether you’re hosting a dinner, celebrating a special occasion, or simply craving something sweet, this strawberry tiramisu fits the moment perfectly. It’s easy to prepare ahead, simple to slice, and always delivers that “wow” factor when served. The fresh strawberries make it especially suitable for spring and summer, but honestly, it’s a dessert you’ll want all year round. For more inspiration, don’t forget to explore other fruity desserts on the site, from Blueberry Ricotta Tart to Passion Fruit Curd Raspberry Tarts that are just as easy and delicious.
Instagram Tutorial & More
Want to see how these layers come together? Watch our quick video tutorial on Instagram and don’t miss out on our other easy and delicious dessert recipes:
Best Season:
Spring, Summer, Suitable throughout the year
Description
This Easy Strawberry Tiramisu is a fresh, no-bake twist on the classic, made without eggs and assembled without a baking dish. Soft sponge fingers are dipped in a homemade strawberry syrup, then layered with a smooth mascarpone cream and a vibrant strawberry sauce. The free-form assembly creates a beautiful cake-like dessert that holds its shape once chilled. It is light, creamy, and packed with real strawberry flavour in every bite. Perfect for making ahead, this dessert is ideal for gatherings or when you want something impressive with minimal effort.
Start by preparing the strawberry syrup, as it needs time to cool completely before assembling. In a small saucepan, combine the strawberries, water, sugar, and lemon juice, then blend until smooth using an immersion blender. Bring the mixture to a boil, cook for 1 minute, and remove from the heat. Transfer the syrup to a bowl slightly wider than the sponge fingers for easy dipping, then set aside to cool completely.
2
Next, prepare the strawberry sauce. In a small saucepan, combine the chopped strawberries, sugar, and cornstarch, mixing well until evenly combined. Then add the vanilla extract and water, and place over medium heat. Bring to a boil while whisking constantly, and cook until the sauce thickens. Transfer it to a piping bag, let it cool to room temperature, then refrigerate for 30 minutes to 1 hour until chilled and easy to pipe.
3
Meanwhile, prepare the mascarpone cream. In a large bowl, combine the icing sugar, double cream, mascarpone, and vanilla extract. Whisk using a hand mixer for 2 to 3 minutes until a firm, smooth cream forms. Transfer the cream to a piping bag and refrigerate until needed, as this helps it hold its shape during assembly.
4
To assemble, place a sheet of parchment paper on a wooden board. Dip one sponge finger into the strawberry syrup and place it in the centre with the sugar side facing up. Add 3 more dipped sponge fingers side by side to form a row, then place another 4 directly below to create 2 even rows. This forms the base. Next, arrange 9 undipped sponge fingers along one long side with the sugar side facing down, then repeat on the opposite side. Place 4 sponge fingers along each short side to form the cake walls. Pipe a generous layer of mascarpone cream over the base, fully covering the sponge fingers, then pipe 3 spaced lines of strawberry sauce on top.
5
Continue layering by dipping more sponge fingers into the strawberry syrup and arranging them again in the centre in 2 parallel rows of 4, placing them snugly with no gaps. Add another layer of cream and sauce, then repeat once more with another layer of dipped sponge fingers. Finish with a generous layer of cream. Gently lift the parchment paper from each side so the sponge fingers stick to the cream and attach to it, forming the structured cake walls. Use the remaining cream to fill any gaps, then build a border from the inside around the edges so it can hold the sauce. Pipe the remaining strawberry sauce into the centre and spread it evenly within this border. Trim any excess parchment paper if needed, then tie a ribbon tightly around the cake, cover loosely with cling film, and refrigerate for at least 4 hours, or preferably overnight, until firm. Once ready to serve, decorate with the strawberries and enjoy.
Use ripe, sweet strawberries for the best flavour, as they are the main ingredient throughout the syrup, sauce, and decoration. If your strawberries are slightly tart, adjust the sugar in both the syrup and sauce to balance the taste. Frozen strawberries can also be used for the syrup and sauce. Thaw them first and drain any excess liquid.
When preparing the strawberry syrup, allow it to cool completely before dipping the sponge fingers. Dip each sponge finger briefly, just enough to coat it without soaking. They should be moist but not soggy, as they will soften further while chilling. Avoid over-soaking, as this is one of the most common reasons the cake becomes too soft.
For the strawberry sauce, cook it until thick and smooth so it holds its shape when piped. If you prefer a smoother texture, mash the strawberries thoroughly at the end of cooking. Make sure both the syrup and the sauce are fully cooled before assembling, as any warmth can loosen the mascarpone cream and affect the structure.
The mascarpone cream should be thick, smooth, and stable. Whisk just until it reaches a firm consistency, as overwhipping can cause the mascarpone to split. Use full-fat mascarpone for the best texture, as reduced-fat versions may result in a looser cream. Double cream can be substituted with heavy cream for US readers.
If you do not have a piping bag, simply spoon and spread the cream and strawberry sauce. However, a piping bag helps create more even layers and a cleaner finish. When assembling, keep the sponge fingers tightly packed with no gaps to ensure a stable structure and neat slices.
As you lift the parchment paper, the undipped sponge fingers will stick to the cream and form the cake walls. Build a cream border from the inside around the edges before adding the final strawberry sauce, so it stays neatly in the centre.
Chill the cake for at least 4 hours, although overnight chilling will give the cleanest slices and best flavour. The cake can be assembled up to 24 hours in advance and stored covered in the fridge for up to 3 days. This recipe is not suitable for freezing, as the cream and sponge will lose their texture.
Avoid assembling while components are warm, over-soaking the sponge fingers, or overwhipping the cream, as these are the most common causes of a soft or unstable cake.
Keywords:
strawberry tiramisu, easy strawberry tiramisu, no egg tiramisu, eggless tiramisu, no bake tiramisu, strawberry dessert, mascarpone dessert, Italian dessert, layered dessert, sponge finger dessert, ladyfinger dessert, strawberry cake, no baking dish dessert, make ahead dessert, summer dessert
Did you make this recipe?
Tag @shicocooks if you made this recipe. Follow @shicocooks on Instagram for more recipes.
Pin this recipe to share with your friends and followers.
Izabella Jakubec
Food Blogger and Recipe Developer
Hi there!
I’m Izabella, and I’m thrilled to have you here!
Here, you’ll discover a collection of simple, easy-to-follow recipes that are perfect for anyone who loves quick and delicious meals.