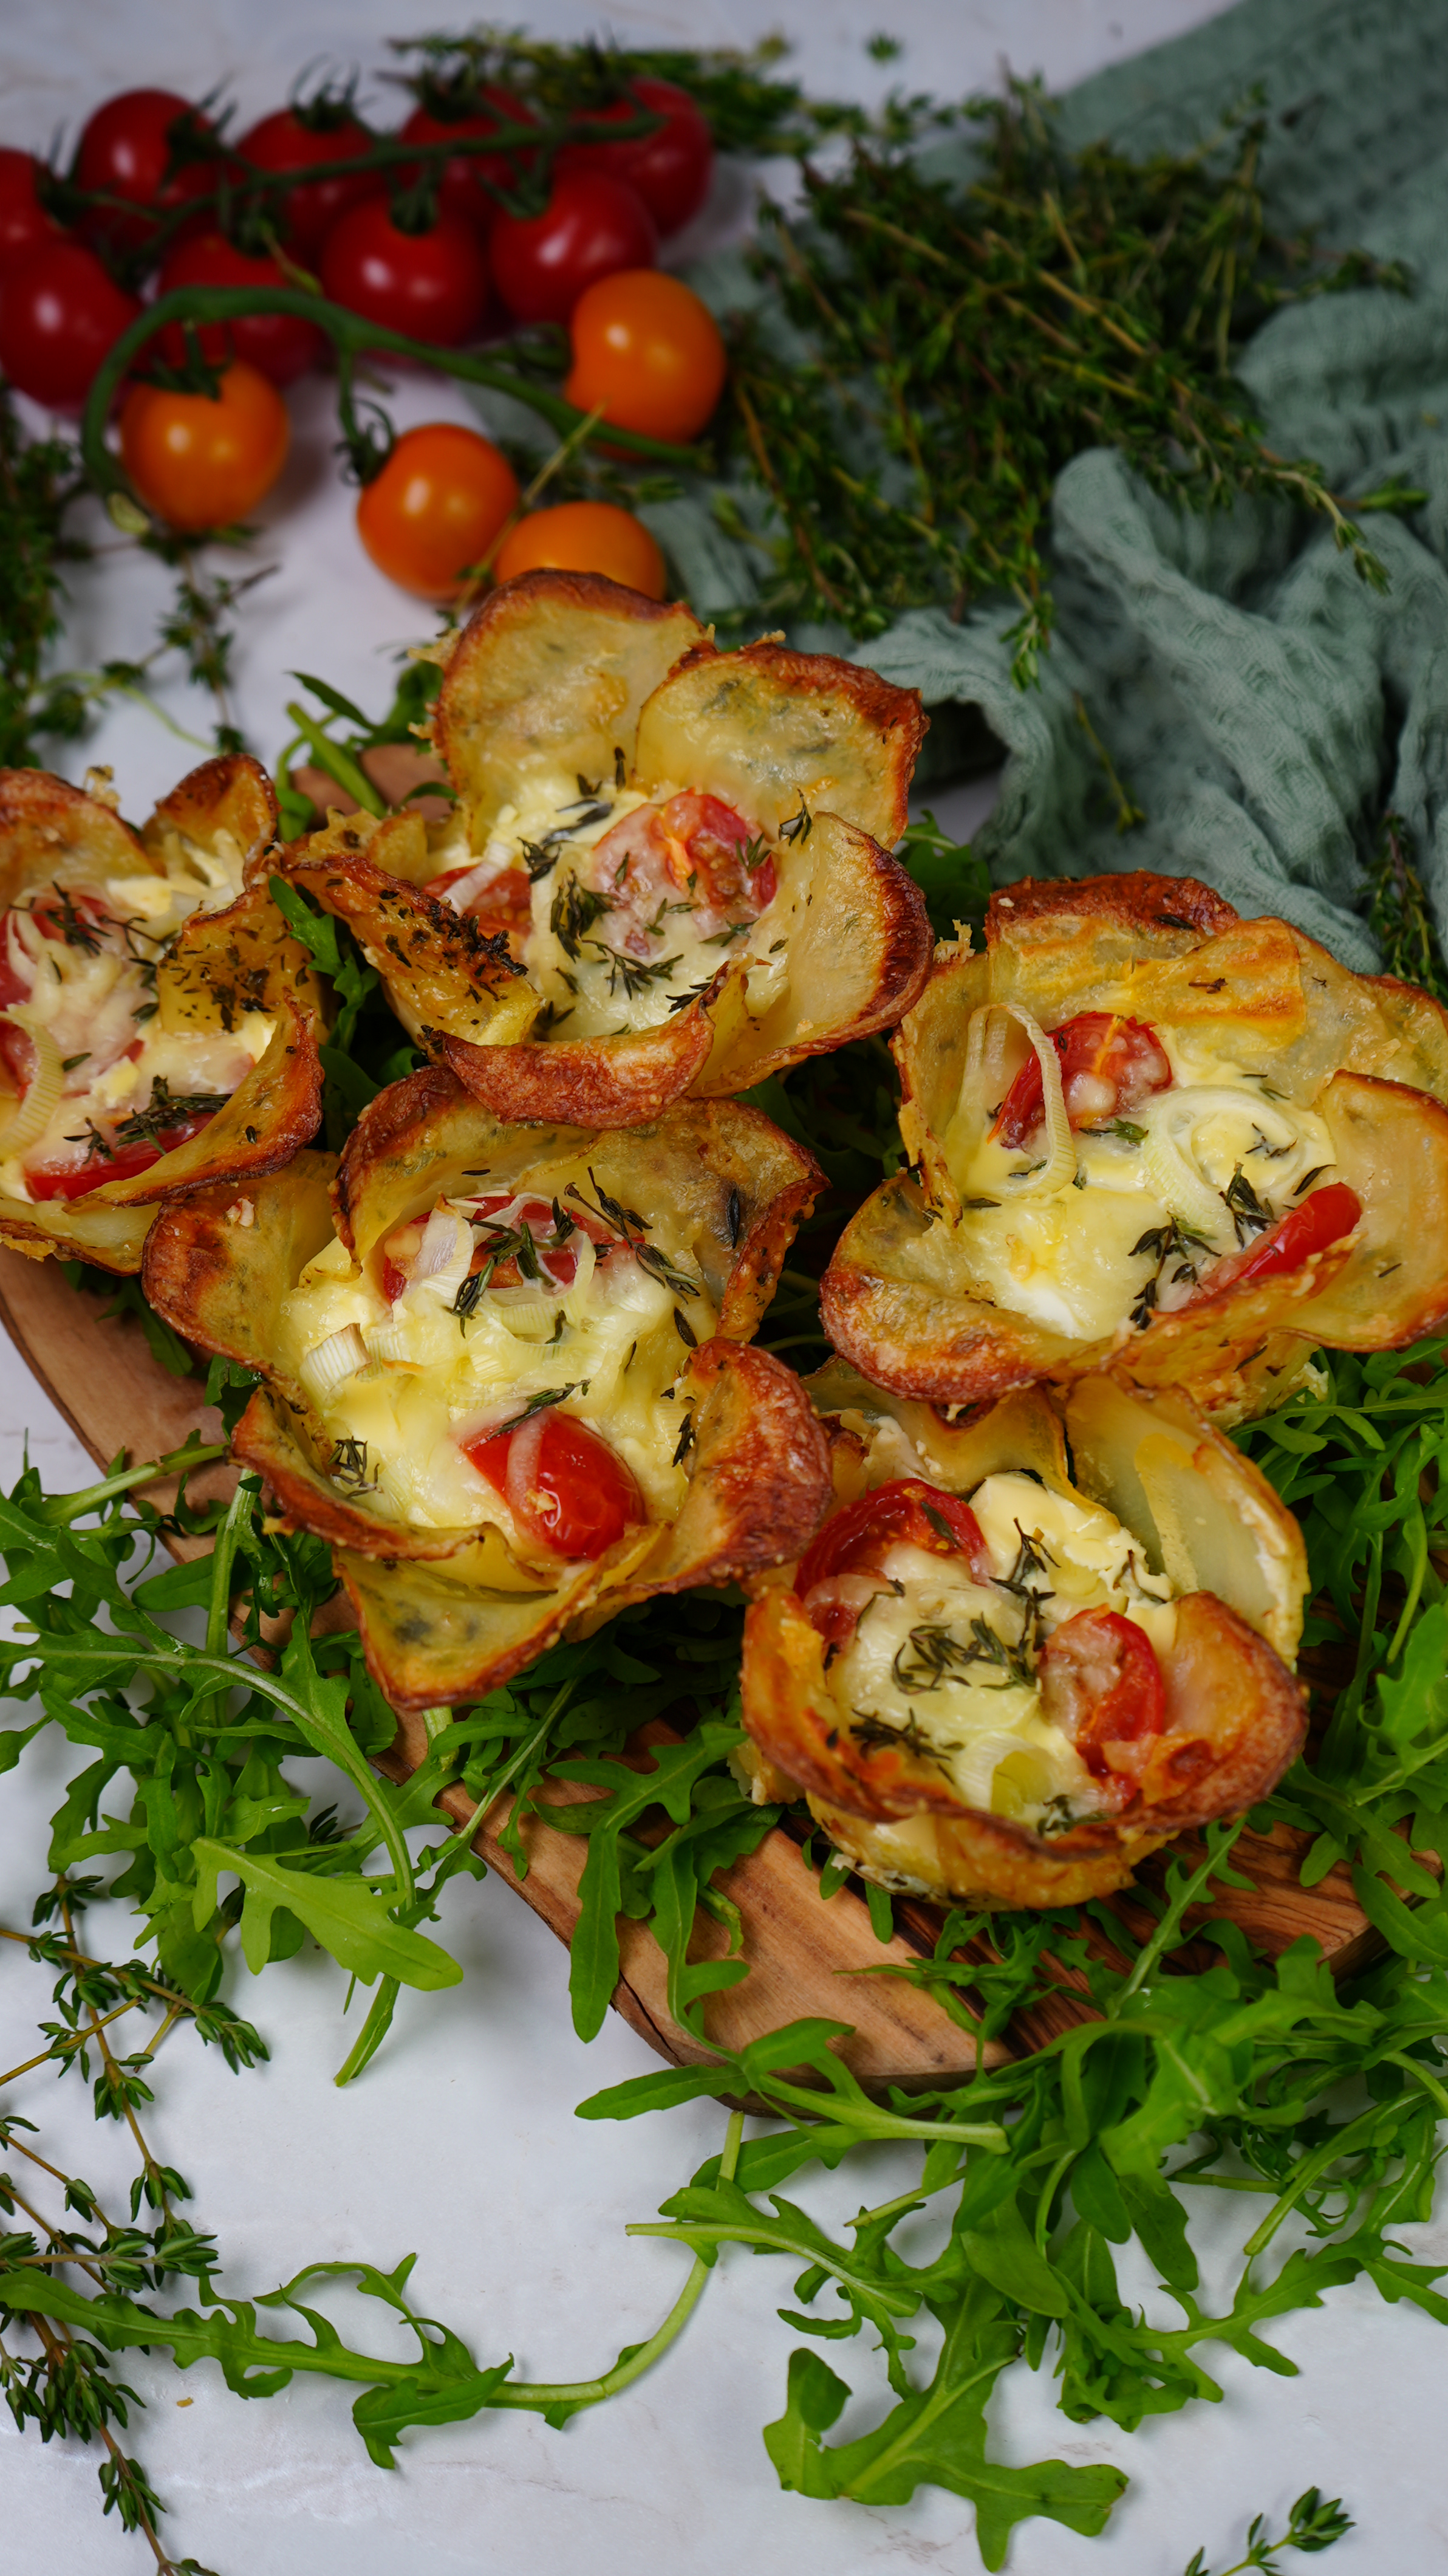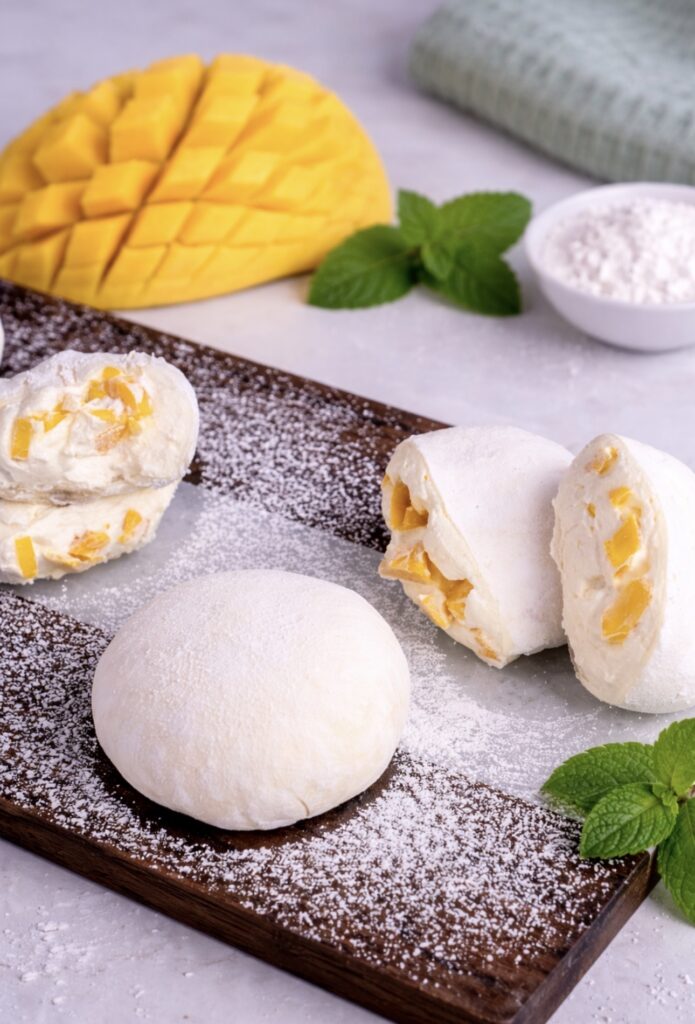

No-Cook Mango Mochi: An Easy, Soft Mochi-Style Dessert Without Dough
If you’ve ever wanted to make mochi at home but felt intimidated by the process, this No-Cook Mango Mochi (Rice Paper Dessert) is exactly what you need. It delivers that soft, slightly chewy texture and creamy centre you expect from traditional mochi, but without any cooking, special equipment, or tricky techniques. Instead of making dough from scratch, this version uses rice paper to recreate that signature bite in a much simpler way. The result is a light, delicate dessert filled with creamy vanilla filling and fresh mango, ready in minutes. If you enjoyed no-bake treats like the Frozen Grape Yogurt Chocolate Bars or elegant desserts like the Cherry Cottage Cheese Ice Cream (High Protein), this recipe follows that same idea. Minimal effort, maximum impact.
Scroll down or tap ‘Jump to Recipe’ to try this easy mochi-style dessert at home.
Simple Ingredients, Big Flavour
What makes this recipe so appealing is how a handful of accessible ingredients can recreate the experience of traditional mochi in a much easier way. Each ingredient plays a key role:
- Rice paper sheets: This is your shortcut to mochi. You can find rice paper in Asian grocery stores or in the Asian aisle of most major supermarkets. It softens as you work with it, creating that chewy texture without needing glutinous rice flour. If you’ve tried rice paper recipes before, you already know how versatile it is.
- Double cream (also called whipping cream or heavy cream): This is what gives the filling its richness and structure. When whipped, it creates a light but stable texture, similar to the cream used in desserts like the Blueberry Tiramisu Cake, where mascarpone and double cream create a smooth, velvety finish , or in the Peach Curd Mini Pavlovas, where it’s whipped with cream cheese for a light yet rich filling
- Cream cheese: Adds structure and a slight tang, balancing the sweetness and helping the filling hold its shape.
- Icing sugar: Dissolves smoothly into the cream, ensuring a silky texture without graininess, just like in many no-bake desserts.
- Vanilla extract: Enhances the flavour and gives the filling a soft, dessert-like aroma.
- Fresh mango: Sweet, juicy, and slightly tangy, mango brings freshness and contrast to the creamy filling. It works beautifully in desserts, but it’s also fantastic in savoury dishes. If you enjoy combining sweet and savoury flavours, try it in recipes like Grilled Chipotle Chicken with Mango Salsa, where the mango adds brightness and balance.
- Cornflour and icing sugar (for dusting): Prevent sticking and create that soft, classic mochi finish.
How to Make No-Cook Mango Mochi
Prepare the Cream Filling
Start by preparing the cream filling. In a bowl, combine the double cream (also known as whipping or heavy cream), cream cheese, icing sugar, and vanilla extract. Whisk with a hand mixer until the mixture becomes thick and holds its shape. This step is key, as a stable filling will help the mochi keep its structure.
Prepare the Dusting Mixture
In a small bowl, mix the cornflour and icing sugar. Sieve half of this mixture onto a plate and set the rest aside for later. This will be used to coat the mochi and prevent sticking.
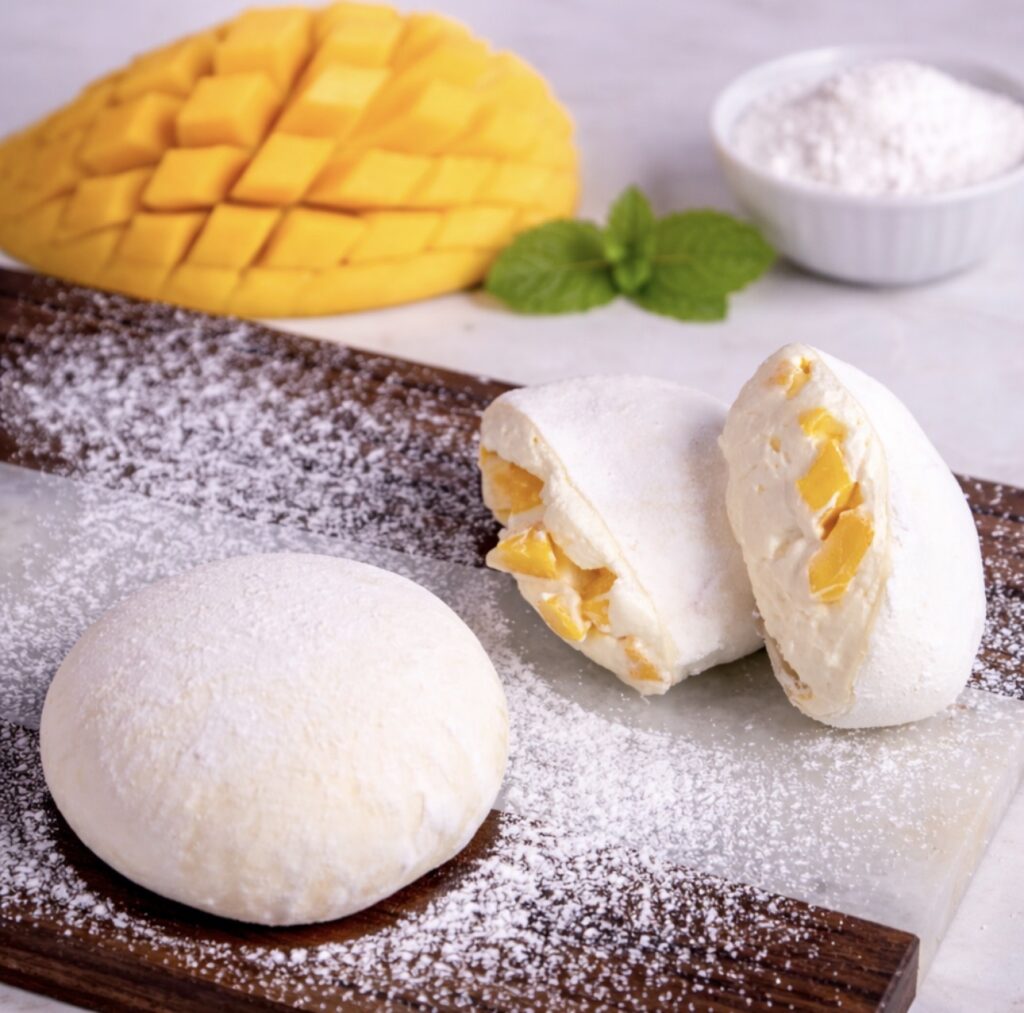
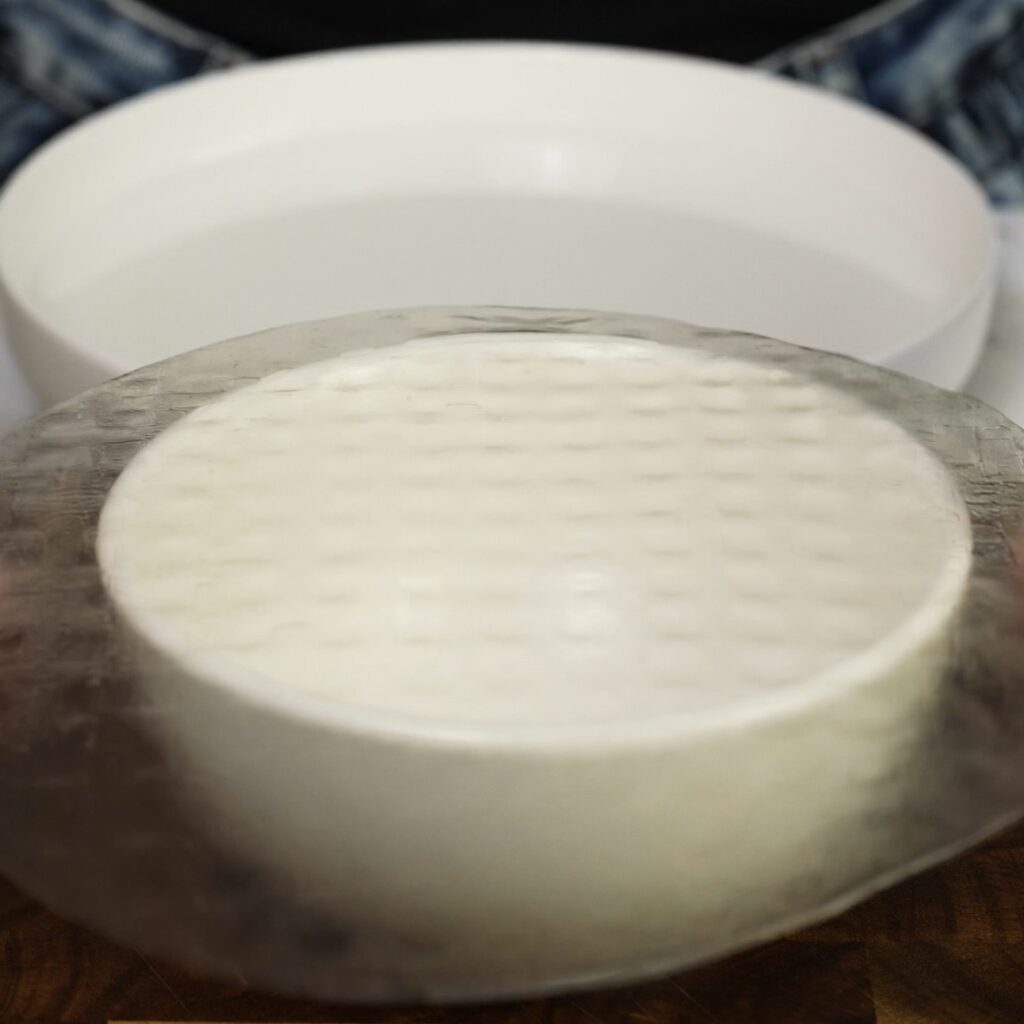
Prepare the Bowl
Lightly grease a small bowl with a little vegetable oil. The bowl should be smaller than your rice paper. The oil prevents sticking and helps release the mochi easily once shaped.
Assemble the Mochi
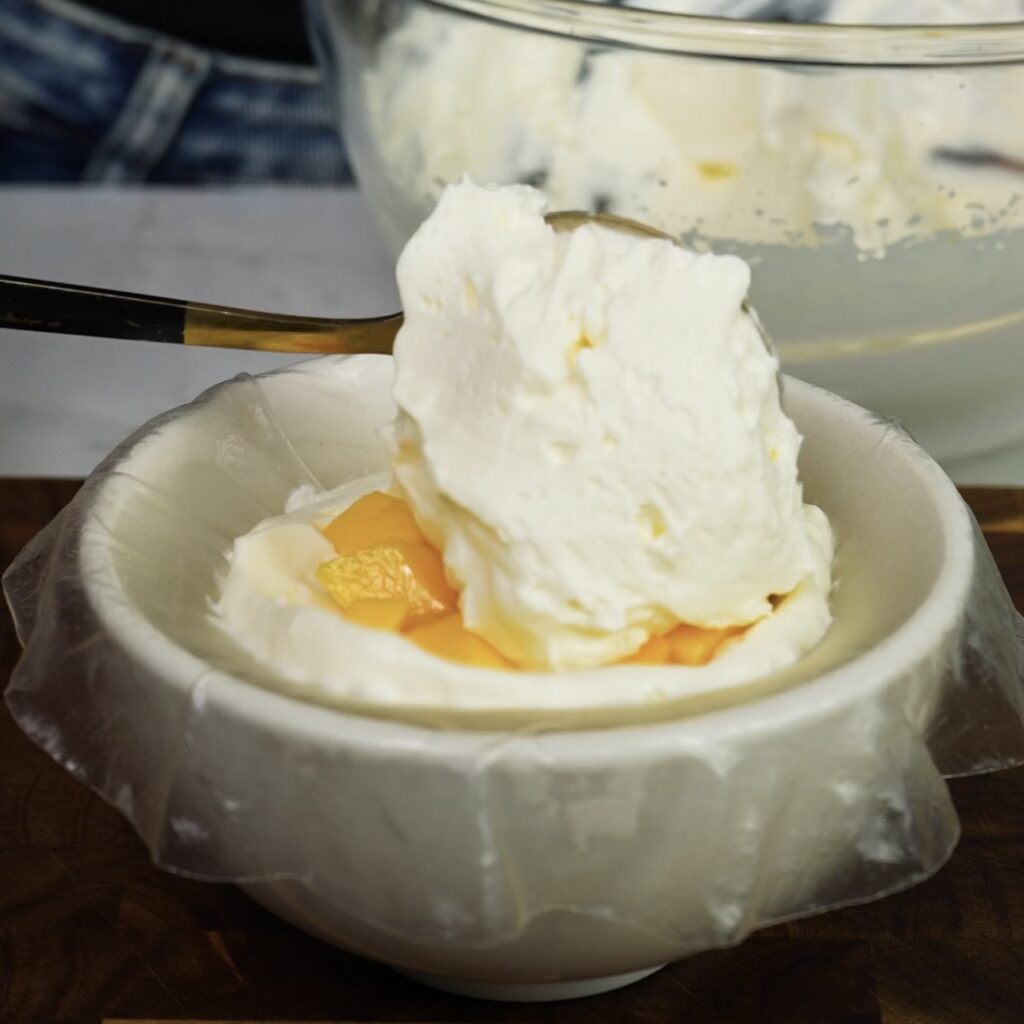
Pour a little water into a shallow plate. Working with one rice paper sheet at a time, briefly dip it into the water without waiting for it to soften. Place the rice paper over the greased bowl and start adding the filling.
As you do this, the rice paper will naturally soften and sink into the bowl, taking shape on its own. Add a spoonful of the cream and spread it slightly, add about 1 tablespoon of diced mango, then top with more cream, making sure the mango is fully covered.
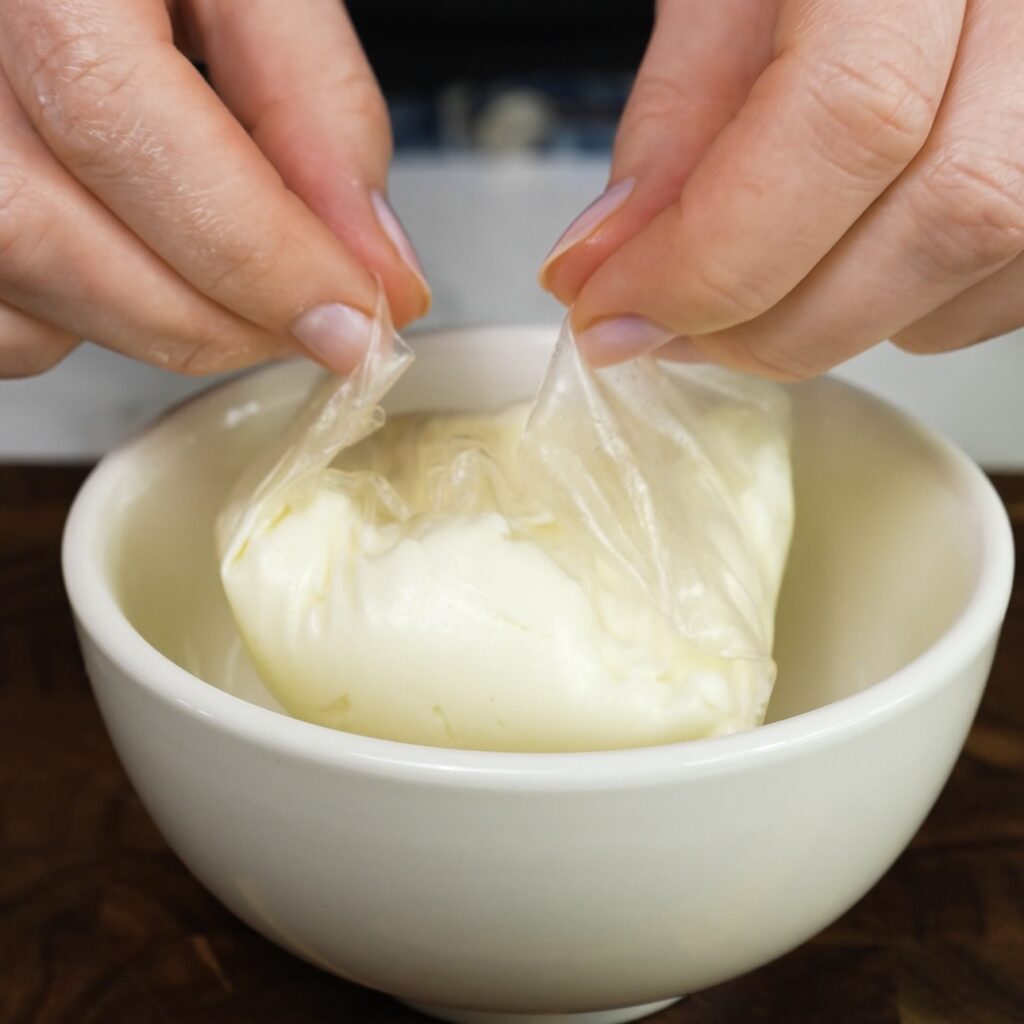
Seal and Shape
Bring all the edges of the rice paper together to seal and form a pouch.
Turn it upside down and place it onto the prepared plate with the dusting mixture.
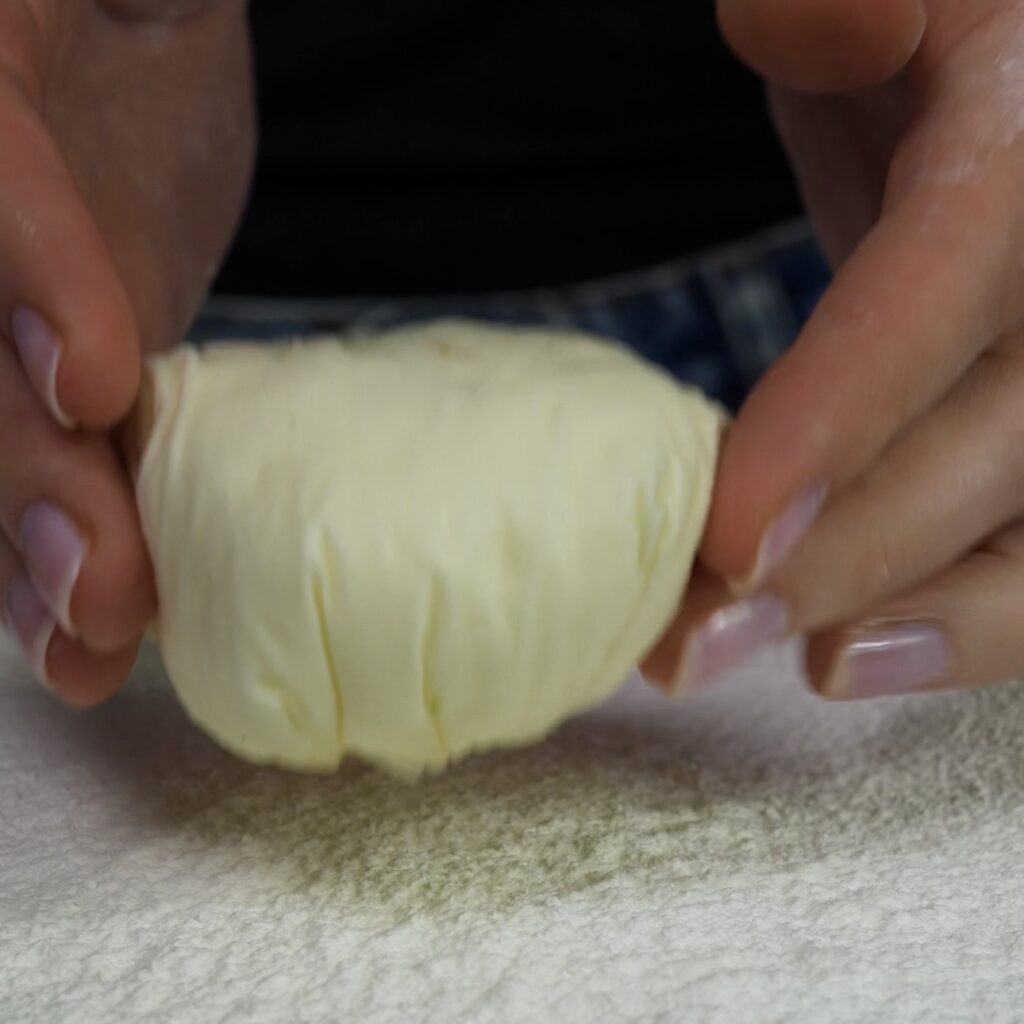
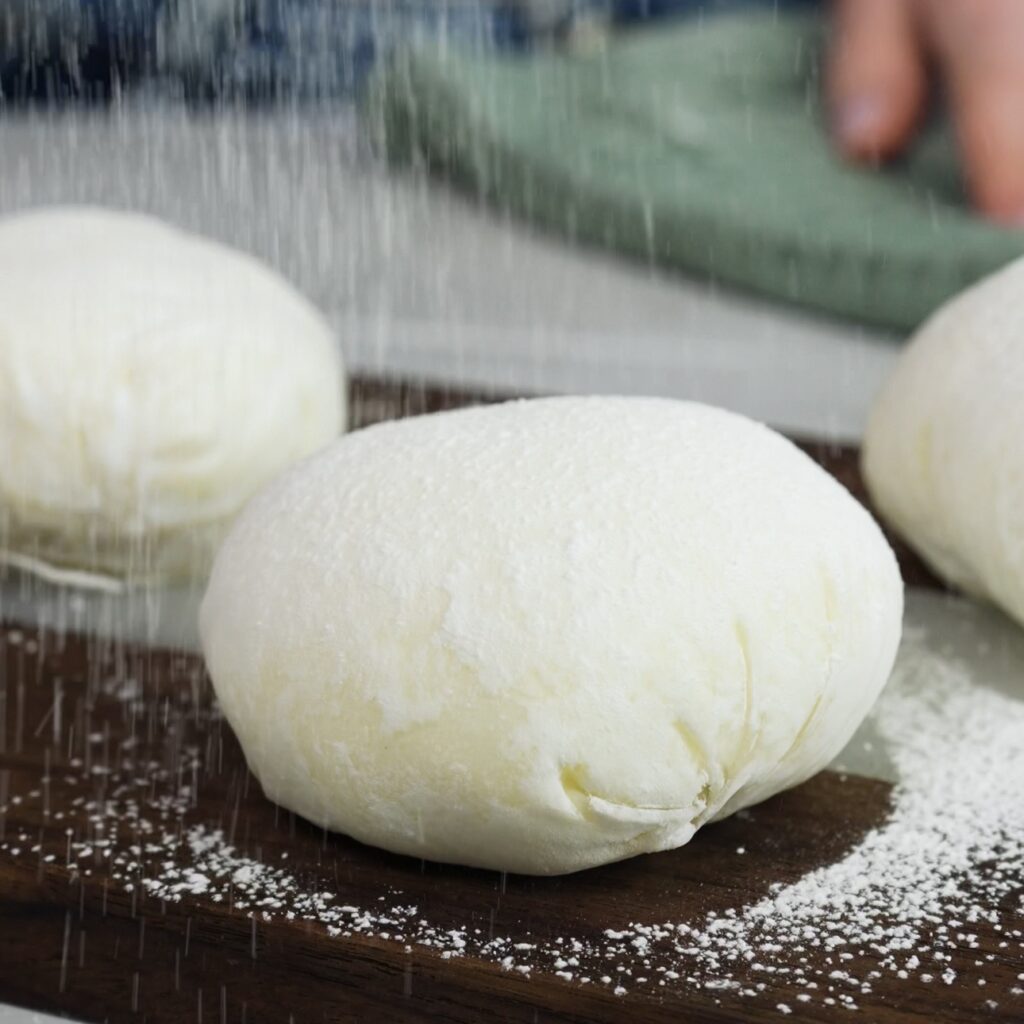
Coat and Finish
Lightly sieve a small amount of the reserved cornflour and icing sugar mixture over the top, then gently use your hands to coat the mochi completely. Use only a light coating to keep the texture soft. Serve immediately for the best soft, delicate texture.
Why This Works as an Easy Mochi Alternative
Traditional mochi requires glutinous rice flour, careful cooking, and precise handling to achieve the right texture. This version removes all of that complexity while still delivering a similar experience. The rice paper recreates the soft, slightly chewy outer layer, while the whipped cream filling replaces the traditional centres with something lighter and more modern. It’s not a classic mochi, but it captures the essence in a way that is far more accessible.
If you enjoy easy desserts that don’t require much effort, this recipe is right up your street. It’s all about simple steps and fresh ingredients coming together beautifully. For more easy recipes, make sure to try our Cherry Cottage Cheese Ice Cream (High Protein) and Easy Banana Ice Cream Bar (No Churn), both quick to prepare and perfect when you want something light and refreshing.
Perfect for Any Occasion
These mango mochi are best enjoyed fresh, when the texture is at its softest and most delicate, with a creamy filling and a slightly chewy outer layer that makes every bite satisfying without feeling heavy. This recipe is ideal when you want something quick, impressive, and tasty, whether for summer days, last-minute desserts, or when you want to create something visually striking without spending hours in the kitchen. Like other no-bake desserts on our site, such as Cottage Cheese Date Bites and Raspberry Cottage Cheese Bars, it’s designed to deliver maximum impact with minimal effort. It’s also incredibly adaptable, so you can easily swap mango for berries, peaches, or even fruit compote, and if you prefer a lighter option, you can replace the whipped cream filling with thick, full-fat yogurt, just making sure it’s firm enough to hold its shape so the mochi keeps its structure.
Instagram Tutorial & More
Watch our quick video tutorial on Instagram and don’t miss out on our other no-cook desserts:
Passion Fruit Ricotta Dessert (Syrok)
Picota Cherry Pistachio Chocolate Bar
Description
This no-cook mango mochi is a soft, creamy dessert made with rice paper instead of traditional dough. Filled with lightly sweetened vanilla cream and juicy mango, it delivers the perfect balance of richness and freshness. The rice paper softens as you assemble, creating a delicate, chewy texture similar to mochi. It comes together in minutes with no cooking required, making it ideal for a quick treat or last-minute dessert. Lightly dusted with cornflour and icing sugar, it stays soft and non-sticky. Perfect for summer or whenever you want something simple yet impressive.
Ingredients
For the mochi
For dusting
Instructions
-
Start by preparing the cream filling. Add the double cream, cream cheese, icing sugar, and vanilla extract to a bowl. Whisk with a hand mixer until thick and holding its shape.
-
In a small bowl, mix the cornflour and icing sugar. Sieve half of this mixture onto a plate and reserve the rest for later.
-
Lightly grease a small bowl with a little vegetable oil. The bowl should be smaller than your rice paper. The oil prevents the rice paper from sticking and helps with shaping.
-
Pour a little water into a shallow plate. Working with one sheet at a time, briefly dip the rice paper into the water without waiting for it to soften. Place the rice paper over the greased bowl and gently press it in as you fill. It will soften and naturally take the shape of the bowl. Add a spoonful of the cream and spread it slightly, add about 1 tablespoon of diced mango, then top with more cream, making sure the mango is fully covered. Bring the edges of the rice paper together to seal and form a pouch.
-
Turn it upside down and place it onto the prepared plate. Lightly sieve a little of the reserved cornflour and icing sugar mixture over the top, then use your hands to gently coat the mochi. Serve immediately and enjoy.
Nutrition Facts
Servings: 4 ServingCalories:215.33kcalTotal Fat:13.54gCholesterol:41.41mgSodium:54.71mgPotassium:62.48mgTotal Carbohydrate:22.47gDietary Fiber: 0.42gSugars: 12.1gProtein:1.64gVitamin A: 150.45IUVitamin C: 3.92mgCalcium: 31.73mgIron: 0.31mgVitamin D: 0.44IUVitamin E: 0.43IUVitamin K: 1.52mcgVitamin B6: 0.03mgVitamin B12: 0.06mcgPhosphorus: 32.36mgMagnesium: 5.59mgZinc: 0.15mg
Note
- Do not over-soak the rice paper: Dip it very briefly in water. If it becomes too soft before shaping, it will tear and be difficult to handle. It should still feel slightly firm when you place it on the bowl.
- The rice paper softens as you work: Once placed over the bowl and filled, it will naturally soften and mould into shape. No need to wait before assembling.
- Greasing the bowl : A light coating of vegetable oil prevents sticking and helps release the mochi easily once shaped.
- Keep the filling thick: Whisk the cream until it holds its shape. If it is too soft, the mochi may collapse or lose structure when sealing.
- Fully cover the mango with cream: Make sure the mango is completely enclosed in the cream filling. This helps create a smooth shape and prevents the rice paper from becoming too wet inside.
- Work one at a time: Prepare each mochi individually. If you soak all rice papers at once, they will stick and become unmanageable.
- Dust lightly, not heavily: Use just a light coating of the cornflour and icing sugar mixture. Too much will affect the texture and make them feel dry.
- Best eaten fresh: These are at their best right after making. Over time, the rice paper can firm up slightly and lose its soft, delicate texture.
- Storage: Store in an airtight container in the fridge for up to 24 hours. Texture is best on the day of making.